Graphics (part 1 of 2)
15 January 2019I've decided to make some custom graphics for the bike. The previous owner of the fairing did a cool Star Wars-themed paint job, but I want to go a different direction. The previous owner of the bike was kind enough to send me the outlines for the custom graphics that he previously had on the bike, so I have that to start with.
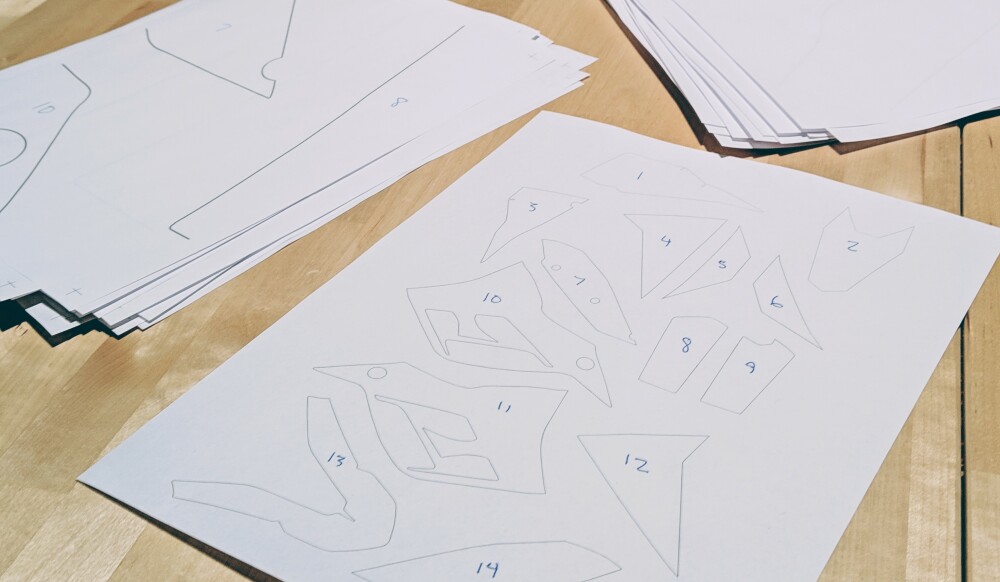
Yesterday, I printed the outlines; it came to a total of 42 pages that I need to cut up and tape together into fourteen different stencils. I started by labeling each of the stencils on a "map" and then went through each of the 42 pages and labeled each piece of each stencil so I didn't get anything mixed up. It took about a half hour to identify and label all of the pieces.
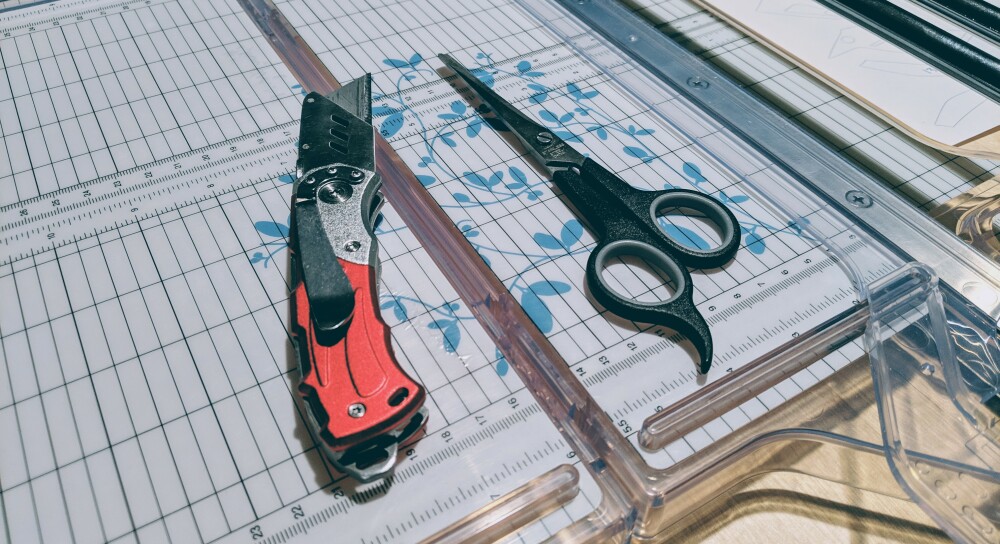
Each of part of each stencil needs to be carefully cut out of the page so that the stencil pieces can be taped together into a complete stencil. I pulled out my trusty paper cutter, razor blade, and scissors, and got to work. This took forever. I don't ever want to see a pair of scissors again.
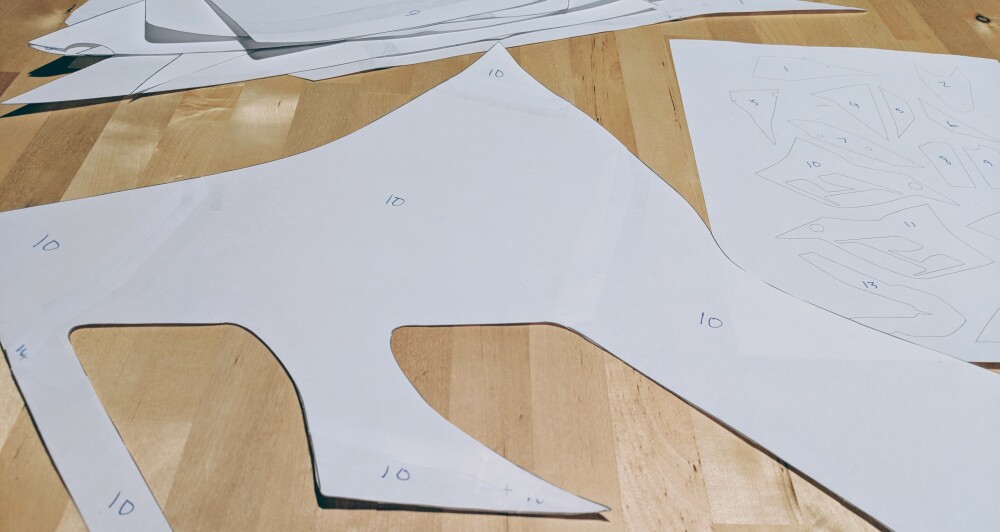
It got pretty late so I called it a night with the stencils cut and sitting on my kitchen table.
This evening I got back to work. I cut a piece of vinyl sized to fit a stencil and taped it flat to my workbench. Then I took the appropriate stencil and taped it down onto the flattened piece of vinyl. Finally, I carefully cut out the vinyl in the shape of the stencil.
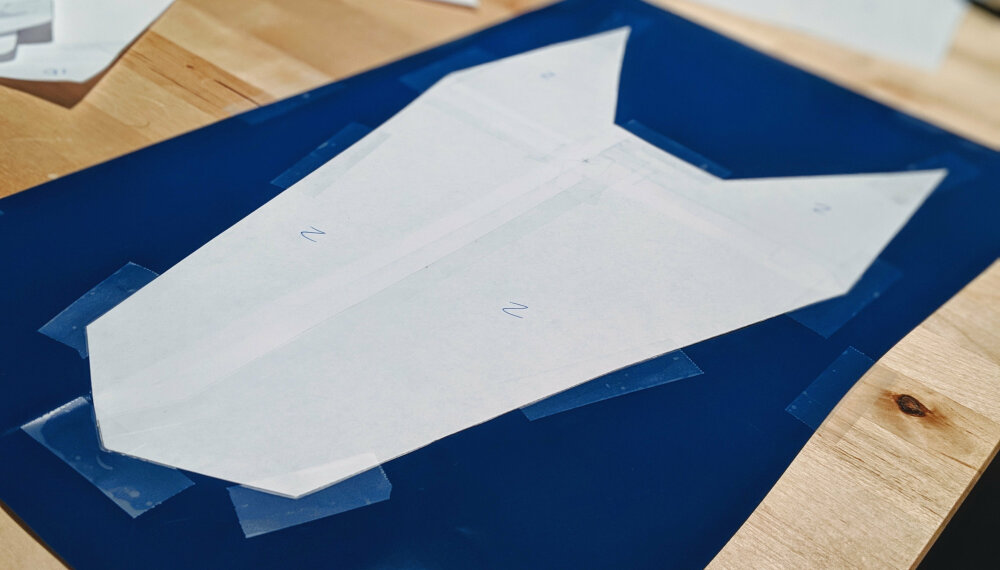
The vinyl is then carefully applied to the body of the KTM. I pulled the fairing and plastic off of the bike so it's a bit easier to work with.
It's getting late again, so I'll have to finish it later. Here's a sneak preview.
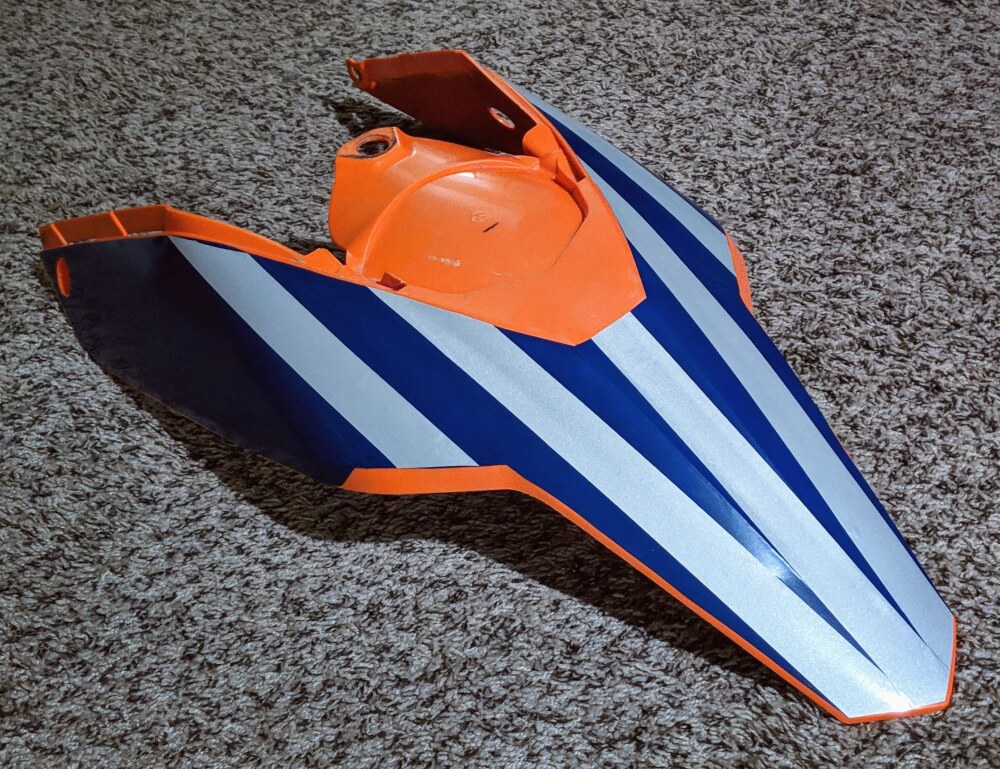
I'm excited about how it's all going to come out; I can't wait to show you all the finished product!
